RUMI Hat: BASE BEANIE
Originally written on 31 Aug 2025. Revised and updated 26 Sep 2025.
I resisted it as long as I could, but my household has finally succumbed to the pop culture sensation that is K-Pop Demon Hunters. We have a healthy affection for all things South Korea in this house, so I’m not sure why I waited so long to watch it. It is, of course, one absolute bop after another and the ladies of Huntr/x are so fun to root for.
Rumi is the favorite in our house and I have made yarn hair hats before (Rainbow Brite, Megan Rapinoe, Abby Cadabby, Elsa, & Rapunzel), so I thought, “How hard could it be?”
Well, now I know it could be pretty hard. Or at least pretty complicated. But, I forged ahead with the optimistic “Let’s learn by doing!” attitude I bring to all my overly ambitious crochet projects.
I put a lot of effort into figuring this out and I am offering it up here for free. If you are going to make this and sell it, please don’t be an a**hole - credit me with the design.
I noticed that there’s a video tutorial out there from someone named jonathongarrity that is very cute and fun, but not quite what I wanted. It looks like he used a base beanie similar to the kind I use for graph beanies - the stitches go up and down and it’s gathered at the top, rather than just building a bowl/hat shape with stitches that go around starting at the top.
I originally thought it would be cool it give it a bit more texture than just a plain hat, so I switched directions after each row - I basically joined each round, chained 2, and turned my work after every row. To be honest, this wasn’t necessary and made the base beanie more complicated than it needs to be. I ended up frogging that whole first hat I made.
The winning strategy ultimately was to start with a basic double crochet beanie like the one I use for my Heeler Hat.

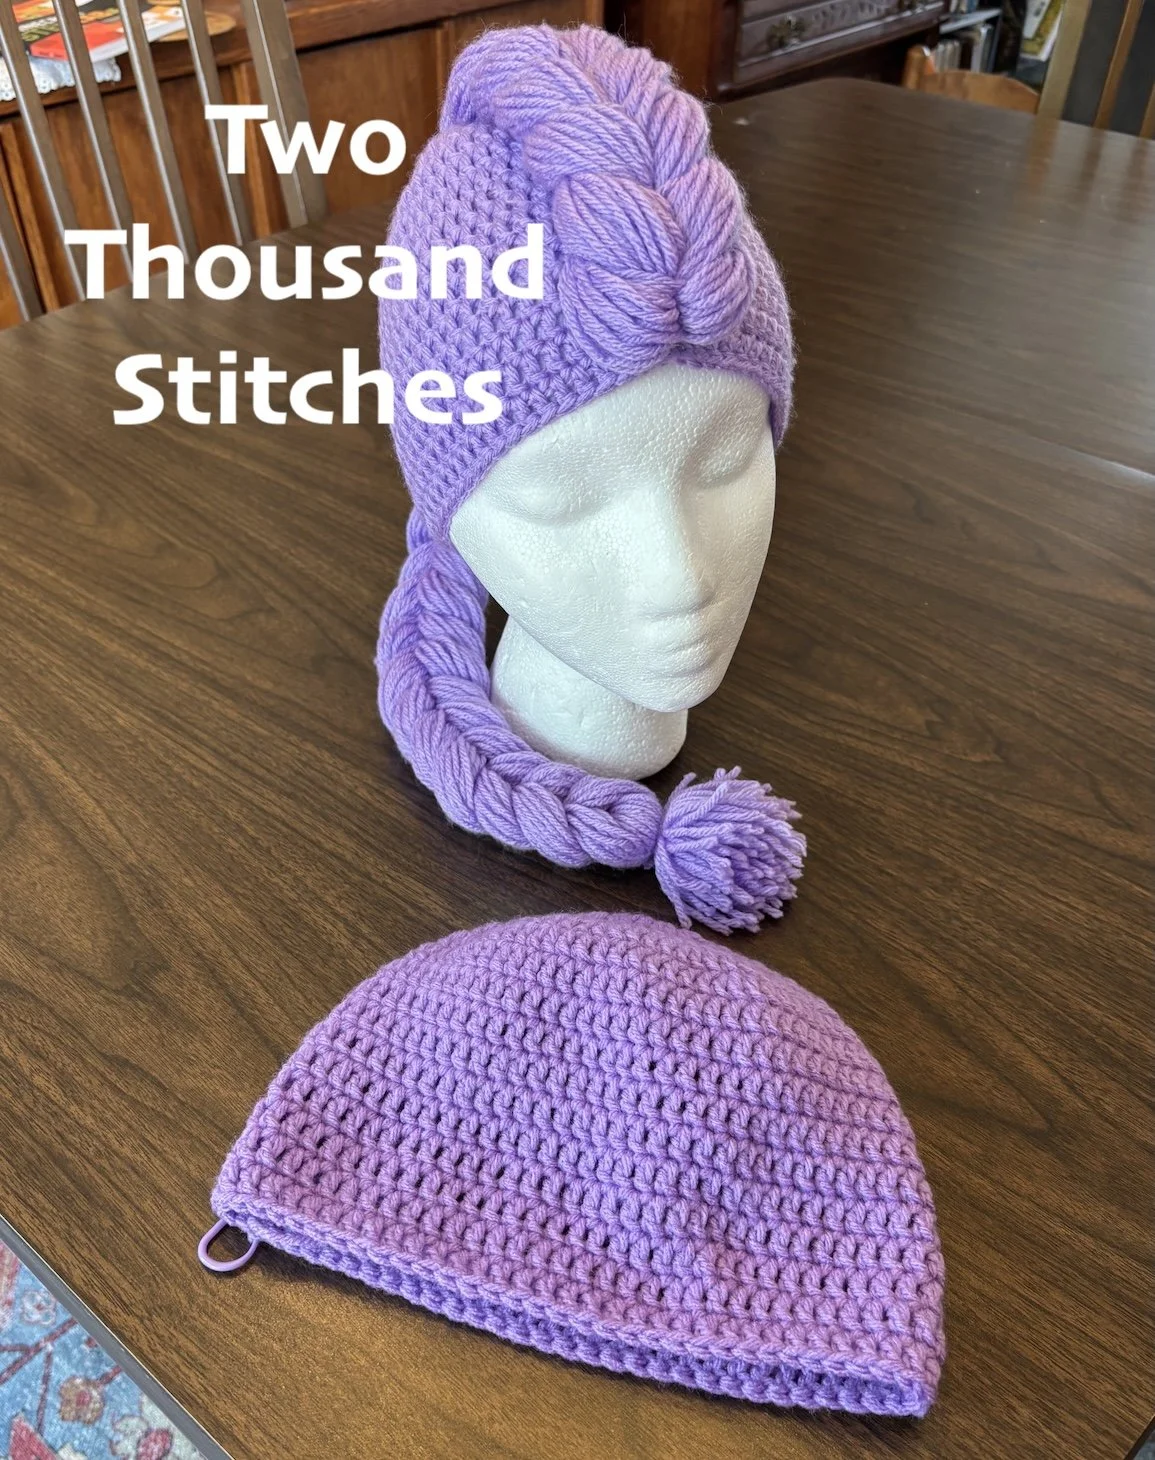
This is the completed base beanie. I put the purple stitch marker in the final stitch to hold it tight while my demon hunter tried it on.
HOOK
I used my favorite Tulip Etimo size 5.0mm crochet hook for the hat. Your hook of choice in 5.0 mm is probably fine too. I don’t really do swatching, but my stitches are typically pretty “mid” when it comes to tension. Not very tight but also not very loose.
YARN
In my opinion, Big Twist Yarn in Lilac is the best acrylic yarn for the job as it seems the closest to what Rumi’s hair looks like. I used 1 skein of Lilac from the stash of Big Twist I built before the death of Joann Fabrics (May She Rest in Peace, F*** Private Equity).
Big Twist is available from Herrschners online at the moment, though, and I ordered some extra skeins from there.
Unfortunately, I noticed that there is a bit of difference from one skein to the next in terms of the color. This is a problem I’ve noticed in recent years with Red Heart and I was bummed to see that Big Twist has the same issue. The good news is, you should ultimately be able to make this hat - the beanie and the braid - with about 1 skein, so hopefully the color difference won’t be a problem.
For the record (and for the non-Americans who may be reading this), 1 skein of Big Twist acrylic yarn, which is “size 4 / medium” (I don’t actually know what that means, to me it’s worsted weight) is 347m / 170g.
Red Heart Super Saver in Lavender or Orchid could also work well. Super Saver skeins are bigger (190g), so once you’ve made the hat, you may not need all the yarn that’s left to make the braid.
Don’t waste your time with any of that Loops & Threads crap yarn from Michaels. It pills up so fast - it’s not worth the heartache.
If you’re not a Big Twist or Red Heart yarn lover, any worsted weight yarn in a color that looks right to your or your Demon Hunter’s eye should be fine.
A few other yarns I’m familiar with that I think could probably work are Paintbox Simply Aran (2 balls) in Tea Rose or Vintage Heather and Stylecraft Special Aran (2 balls) in Wisteria. These Aran yarns always seem slightly lighter than worsted weight to me, but I think they’re close enough in this case.
OTHER TOOLS
You’ll also need scissors or snips and yarn needle to weave in ends.
You won’t need them for the base beanie, but for the braid (which will be a separate post) I recommend purple zip ties like these. It’s possible plain white ones could work, but they might end up more visible than you want. Purple hair ties that closely match your yarn color could also potentially work, but zip ties are going to be much easier to work with.
STITCHES & SKILLS REQUIRED (US terms)
Magic ring
Ch: Chain stitch
DC: Double crochet
INC: Increase (two stitches in one space, in this case two DCs)
Recommended but not required: Invisible join
Important notes before you begin:
In this pattern, the chain 2 at the beginning of each round does not count as a stitch.
When you join at the end of the round, your joining slip stitch should go into the top of the first DC of the round you are completing (not the chains) and your chain 2 and first DC of the next round will go into that same stitch.
PATTERN for the base beanie
Round 1: With your chosen yarn color chain 2, 10 DC in a magic ring and join with a slip stitch (10 stitches)
Round 2: Chain 2, DC inc in every stitch around. Join with a slip stitch. (20 stitches)
Round 3: Chain 2, Increase every second stitch - * DC, DC inc * around. Join with a slip stitch. (30 stitches)
Round 4: Chain 2, Increase every 3rd stitch - * DC, DC, DC inc * around. Join with a slip stitch. (40 stitches)
Round 5: Chain 2, Increase every 4th stitch - * DC, DC, DC, DC inc * around. Join with a slip stitch. (50 stitches)
Round 6: Chain 2, Increase every 5th stitch - * DC, DC, DC, DC, DC inc * around. Join with a slip stitch. (60 stitches)
IMPORTANT NOTE: For smaller-headed demon hunters and depending on your tension, 60 stitches may be big enough. Use your best judgment, I guess? If it does seem big enough, skip round 7.
Round 7: Chain 2, Increase every 10th stitch - * DC, DC, DC, DC, DC, DC, DC, DC, DC, DC inc * around. Join with a slip stitch. (66 stitches)
No more increases! Hooray! This is probably a good time to mention that if you paid for this as a pattern, you got scammed. I offer it for free on my blog at Two Thousand Stitches dot com.
Round 8-16/17/18: Chain 2, DC around. (66 stitches)
IMPORTANT NOTE: I recommend testing the length of this beanie on your demon hunter’s head (if you have it available) before you fasten off to make sure it’s a good length for them. If you’re not sure, I usually like to go slightly longer than risk having it end up too short/small.
When you’ve settled on a good length, fasten off at the bottom however you like! I like to do an invisible join. Ultimately the join will end up at the back of the hat, so it’s OK if it’s not really invisible.
Up next: THE DRAGON BRAID!